How To Make A Pumpkin Out Of Chicken Wire
Greetings and happy October friends! Today I am bringing back an oldie but goodie craft; the chicken wire pumpkin. I have had many requests to revisit this post and share the gauge of chicken wire that I used as well as detailed DIY instructions. I went ahead and tweaked the original design of the pumpkin of my 2013 French Western Chicken Wire Pumpkin post by changing the gauge of wire, added some copper wiring, beads and burlap flower.
The nature of the Chicken Wire Pumpkin has evolved throughout the years. In 2014 I tweaked it once again. You can visit that post right here.
For real time inspiration on crafts, cooking and gardening follow me on Instagram and on my IGTV
Supplies For Chicken Wire Pumpkin
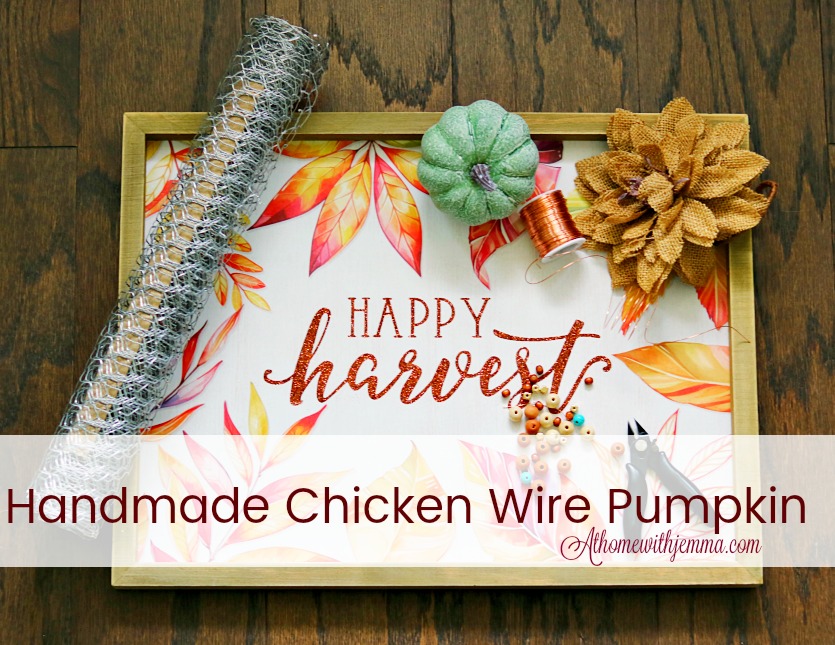
- Light weight chicken wire 13.7 x 40 inches 0.63 mesh (mini wire pliers included.) (Amazon)
- Real wire cutters if you are using chicken wire from your own supplies (not florist wire cutters) (Tractor Supply or Home Depot)
- Natural Burlap Flower (Craft Box)
- Copper beading wire 24 gauge (Hobby Lobby)
- Assorted beads (Hobby Lobby) *remember to use your coupon*
- All purpose metal wire for attaching sides of pumpkin and stem.
I love copper wire. I have a dear friend who got me hooked on beads and wire.
Her name is Carole . I encourage you to drop and visit her, she is a very talented and uplifting gal.
 |
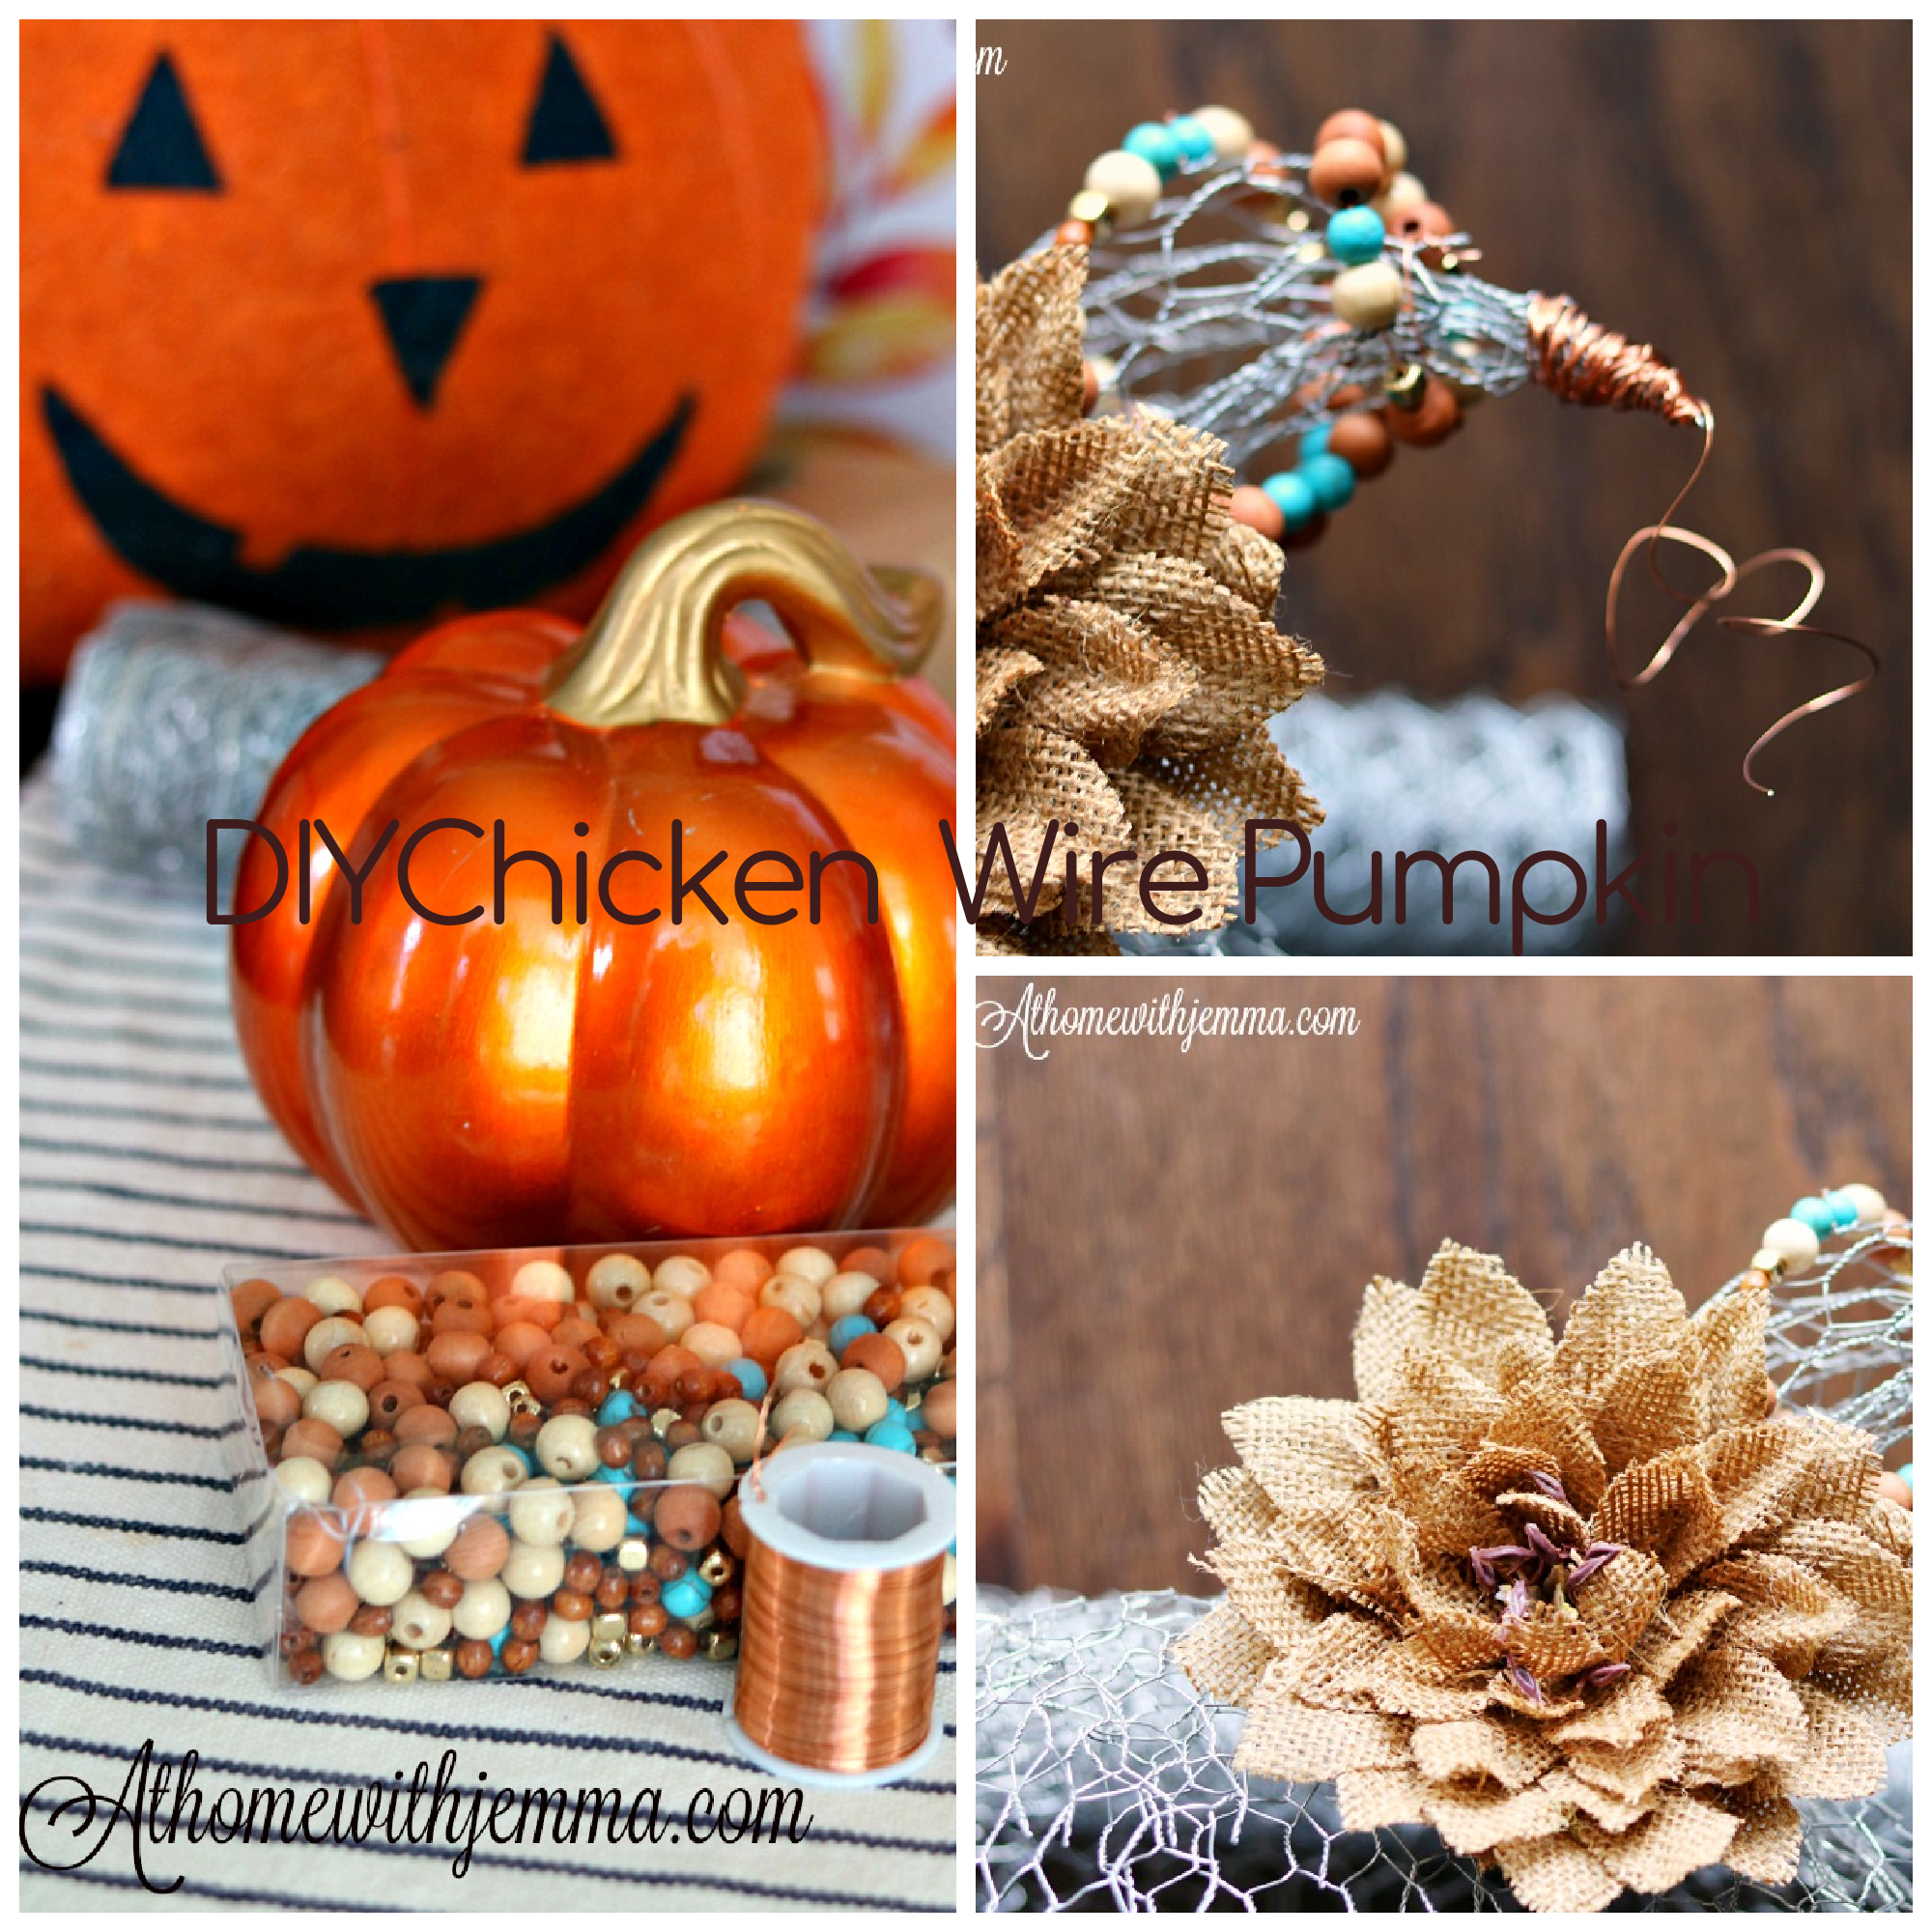
| Chicken wire, copper wire and beads for the Pumpkin Stem |
How To Design The Pumpkin Stem
- I designed and created this new chicken wire stem by cutting the chicken wire into approximately a 13 inch by 6 inch rectangle and then began twisting and molding it into a stem shape.
- This is the new stem that I designed using chicken wire, copper wire and beads.
- I attached the stem to the pumpkin using metal wire.
If you prefer the original style (photo below) create a chicken wire stem form and wrap it in burlap.
How To Make A Pumpkin Out Of A Chicken Wire
- A mold is needed to shape the pumpkin, I used a felt pumpkin that I got from Hobby Lobby.
- The size of the mold will determine the size of your chicken wire pumpkin.
- I chose to use a felt pumpkin as my mold.
- It was super soft and easy to work with and I like the height and shape of it as well.
- Working from top to bottom unroll the chicken wire and place on mold.
- Once the chicken wire is in place and there is enough slack in the wire begin to wrap, press and tuck into place.
- Once that is done cut the wire and secure the two top pieces with metal wire.
- Repeat the process for the sides of the pumpkin
How Much Time Does It Take To Make A Chicken Wire Pumpkin?
- This project from to start to finish took just about 2 hours.
- This project can be customized and so many more details can be added.
How Much Does It Cost To Make A Pumpkin Out Of Chicken Wire
- Beading wire - 2.99
- Beads - 4.00
- Total Cost of Chicken Wire - 15.99
As you can see in the original design in the photos below I molded the chicken wire pumpkin to have more dimension and detail.
There are many ways to make this pumpkin your own, just let your imagination be your guide!


This is a fantastic project! Great tutorial too.
ReplyDeleteCindy
Thank you Cindy. I enjoyed your Oatmeal cookie recipe too.
DeleteVery clever! I can even imagine these being spray painted! Well done!
ReplyDeleteAgree, spray painting would be a fun way to add to color !
DeleteChicken wire can be tough to work with, but I'm thinking the lighter gauge makes it much easier. Your pumpkin in beautiful, Jemma. Thanks for sharing the tutorial!
ReplyDeleteTotally Ann, chicken wire can be very challenging, but this lighter gauge made all the difference and no punctured fingers either!
DeleteJoyce, How cute is this? I know that working with chicken wire is super hard ( a least for me)! I love this. What a great idea. I'm definitely going to have to give this one a try. Pinning and I'll let you know!
ReplyDeleteTammy you are the sweetest and I thank you. This lighter weight chicken wire made all of the difference in this project. Much more pliable and not hard on the hands either.
DeleteThis is a cute one, Jemma!
ReplyDeleteThanks Jeanie, I am channeling your Southern Exposure and dreaming!
DeleteWhat a fun pumpkin. It is so cute with all the cute decorations you placed on the stem area. Using the pumpkin to shape the wire was a great idea since the chicken wire has a mind of it's own. Love it!
ReplyDeleteI love working with wire and now that I have discovered a lightweight chicken wire I am pretty much in heaven! Thanks so much.
DeleteThis is amazing Jemma. I love it. So cute and different. Love your details on the stem. Very pretty. Happy Weekend. xoxo
ReplyDeleteHappy weekend to you Kris and thanks so much!
DeleteSo creative and fun. Lots of possibilities for decorating and maybe painting. Happy weekend dear Jemma. xoxo
ReplyDeleteThank you sweet friend! It's a fun project with so many possibilities.
DeleteOh, this is very creative, Jemma. Who would have thought you could make
ReplyDeletesomething so cute out of chicken wire. I think the turquoise beads add a special
touch. I love that orange pumpkin, it's so pretty. Your house is starting to be
all decked out for Autumn, and your table centerpiece is delightful.
Thanks for visiting, Jemma. It's always so nice to see your smiling face. : )
~Sheri
Good morning Jemma! I'm late; I've been outside taking photos and enjoying the amazing colors here! I've never attempted anything out of chicken wire but this looks fun. You are always so good to be on top of the seasonal decorating; though I'm retired now, I haven't had a chance to change things around. I think our warmer than usual weather has unmotivated me to decorate but our temps are going to drop after today! ENJOY my beautiful, creative friend!
ReplyDeleteGood morning, Jemma. You are always so creative and the tutorial is perfect for non-crafters like me. I love the chicken wire pumpkin, it is so cute. The centerpiece you created with the pumpkin is just gorgeous on your table! Thank you for always inspiring me to dust off my old crafting self and get busy. Happy Sunday!
ReplyDeleteThis pumpkin turned out so cute! You did a great job & I love the idea of the chicken wire but I’m not sure why!! Maybe because it seems like there are lots of creative uses for it! Lovely pumpkin!
ReplyDeleteYour pumpkin is really cute Jemma! I love the way you styled it with the black and white checked cones, {I have some of those too!!} Such a fun decorative piece!
ReplyDeleteJenna
Love working with wire! Love how it turned out!
ReplyDeleteI'm just now getting to my emails and had to see this project. You are brave to dive into crafting with chicken wire. I have never been able to get past using it for raising quail or chickens. A neat material but I make such a mess with it. Thanks for mentioning me too, that was sweet and love what you did with those beads. Some day we need to sit down and play with beads again. Maybe a retreat or something? Have a great week!
ReplyDeleteHugs,
Carole
Such a cute project! Loving the pumpkin. Hugs and blessings, Cindy
ReplyDeleteAwesome idea and unique looking! It looks great in your tablescape.
ReplyDelete