DIY Wooden Wagon For Outdoor Décor
This DIY Wooden Wagon project for Fall Outdoor Décor takes a little time, some experience and some power tools. But once you acquire this knowledge you are going to be hooked on all the amazing things you can create! Let this DIY project ignite your creative passion!
I love wooden wagons, they are sort of the quintessential country outdoor décor. Truly perfect for creating festive seasonal themes for a variety of holidays or community events.
A few years back I began my search for red wagons and none were to be found, or they just seemed overpriced.
So...I enlisted the help of my handy hubby and presto a DIY Red wooden wagon for the Holidays was born.
Truly who can resist a red wagon brimming with mums and pumpkins for Fall themed garden décor.
Or how about an outdoor holly jolly Christmas vignette with Santa riding on a red wagon decorated for the Holidays.
Nail guns.✅
Table saw.✅
Hammers-how many does one truly need! Yes we have multiple hammers.✔
Since we are frequently embarking on some DIY project we have plenty of everything.
Seems the hubby and I are a pretty good DIY team.
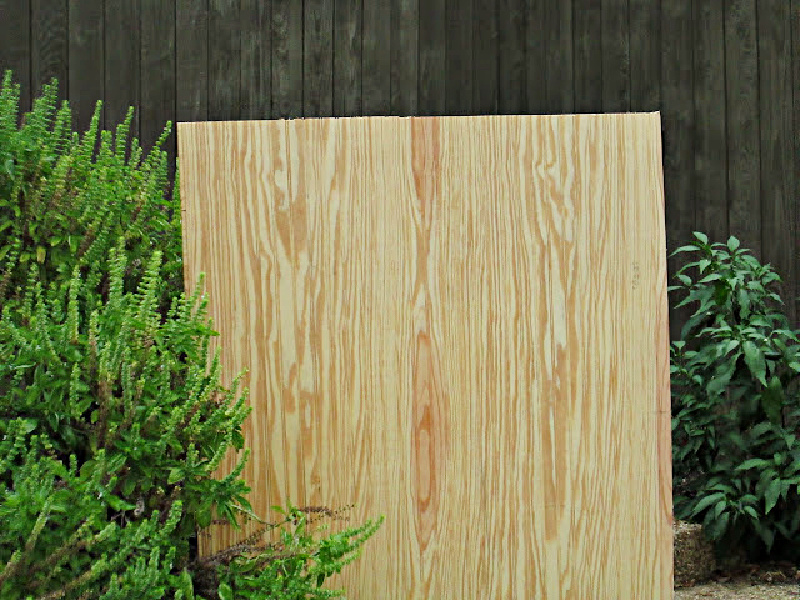
I rummaged around in the garage and found some sheets of bead board that we had used for a Kitchen renovation.
The first step in making our DIY Wooden Red Wagon was much closer to becoming a reality.
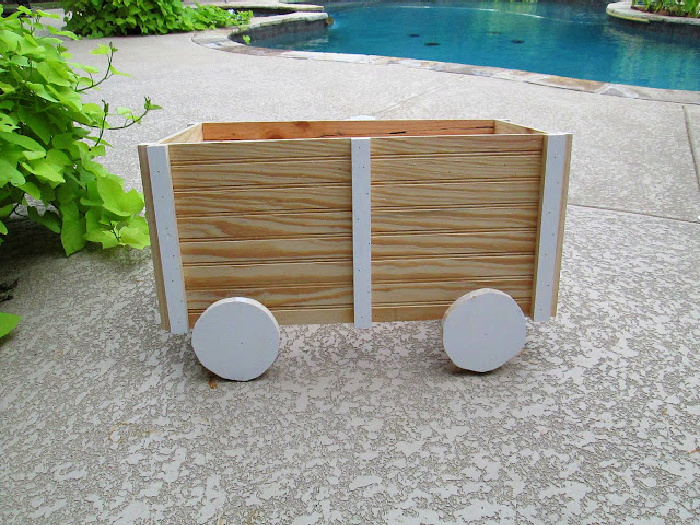
We decided on a rectangular frame measuring 33"L x 27"W x 26" H.
DIY wooden wagon is for decorative purposes only and is not functional for actual use.
Supplies For DIY Wooden Wagon Outdoor Décor
- One sheet of 44 inch bead board or 4" x 8" plywood sheet.
- Measuring tape.
- Safety goggles.
- Sawhorse.
- Circular saw.
- Four 2 x 4's.
- Four 4-6 inch wooden wagon wheels (We made ours using a table saw) You can purchase them premade right here.
- Nail gun or hammer.
- Nails 3/8 inch to 1/4 inch.
- Titebond wood glue to attach wooden wheels or (4) 2 inch sheet rock screws.
- Screwdriver
- Six-eight cans Apple Red spray paint.
- Four Cans Black matte black spray paint.
How To Build a Wooden Wagon for Outdoor Décor
Make the wagon frame using 2 x 4's
- Using sawhorse and circular saw cut (4) 2 x 4's 32.5 inches long
- Cut (4) 2x4's 27.5 inches long
- Cut (4) 2x4's 22 inches long ( these shorter 2x4's will be the base of the top of the wagon. Being shorter they will add depth to the wagon to place pumpkins, plants, decorations etc...
- Nail two of the 32.5 inch 2x4's and two of the 26.5 inch 2x4's together to make the base of the frame.
- Nail four of the 22 inch 2x4's to the base of the frame.
- Nail the remaining two 32.5 inch 2x4's and two of the 26.5 to the 22 inch 2x4's to complete the wagon frame.
- This is your rectangle frame that will hold the plywood sides and top in place.
Make the wagon sides and top using plywood or bead board cut 5 pieces.
- Cut Ply Board/Bead Board into the following dimensions below.
- Attach cut pieces to wooden frame from above using either a nail gun or hammer and nails.
- Using sawhorse and circular saw cut plywood or bead board into 5 pieces (measurements below)
- Two pieces should measure 32.5 inches (Length) x 26 " (Height)
- Two pieces should measure 27.5 inches (Width) x 26" (Height)
- One piece should measure 26.5 inches (Width) x 31.5 inches (Length) (Top of Wagon)
- (Option) Dress up the wagon by adding extra 2x4's to the exterior corners and center of wagon before painting.
How to Attach Wooden Wheels
Paint Your Wooden Wagon and Decorative Touches
- Cover your work area.
- Spray when there is no wind.
- Let paint dry an hour or so and add another coat if desired.
- Dry overnight before adding décor.
- Decorate wagon with festive touches.
- Garland.
- Lights.
- Seasonal Décor .
Thank you for joining me for this fun and crafty DIY Wooden Wagon Project!
Happy Crafting,
Jemma


What a cute little red wagon for your front porch. It's so festive with the pumpkins
ReplyDeleteand Fall leaves. And Yes, you can turn it into something special for Christmas too!
I've always loved red wagons, and Francesca got the original Ryder red wagon
for Christmas one year. You always have so many wonderful and creative ideas,
dear Jemma. I hope you are enjoying these glorious Autumn days.
~Sheri