Crafts
How To Make A Burlap Bow and Sunflower Fall Wreath DIY
September 20, 2021
This sunflower Fall wreath diy is so easy to make as well as only taking about 20 minutes of your time. Make one for yourself and give one to a friend!
In this post you will find instructions and supply list on how to make a Fall Sunflower Wreath and Burlap Bow.
So whether you like a swag, wreath or a wooden sign, it is seems to me that door décor is the universal greeting of Welcome.
I recently made two white rustic grapevine wreaths for our front entry, if you missed that post you can see them right here.
Naturally if a wreath can be made under 20 minutes including time to hang it is definitely a win, win!
Naturally if a wreath can be made under 20 minutes including time to hang it is definitely a win, win!
For full video tutorial of how to make this Fall Wreath just hop on over to my IGTV CHANNEL
If you enjoy a natural and earthy themed wreath you might enjoy this one for your Fall door décor.
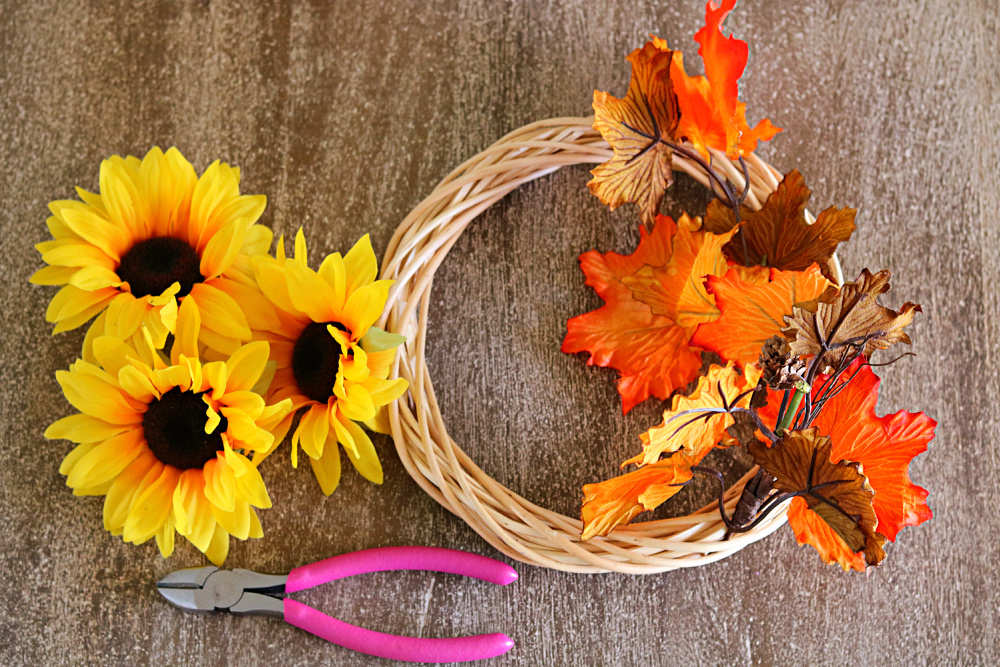
- Wreath Form (I used 12 inch size)
- Pumpkin Picks (5-6)
- Leaf Picks (enough to create a full and abundant wreath)
- Sunflower picks 3-4
- Florist Wire
- Florist Clippers
- Scissors
- Autumn Wire Edge Ribbon
- Pipe Cleaners
- Giant Suction Cup Wreath Hanger-this is must for windows, glass doors or mirrors.
How to Make A Sunflower Fall Wreath DIY
Full and abundant is the design of this wreath so be generous in using the leaf picks.
- Insert picks into the wreath form-depending on length of picks they may need to be trimmed. If so use florist cutters.
- Work in a circle with the leaf picks adding as many as needed to create a beautiful and full wreath base.
- Insert Sunflower Picks into lower portion of wreath.
- Insert pumpkin picks on upper sides of wreath.
- Make bow or purchase one and place on top of wreath.
- Using wreath suction cup or wreath hanger hang on door.
How To Make A Simple Loop Bow For Wreaths
- Using a long piece of wired ribbon ( minimum of 36 inches)
- Create a loop at one end and fold one side over itself.
- Using your thumb hold the inside of the loop, this is the center of your bow.
- Create another larger loop with the same piece of ribbon.
- Fold this piece in underneath the center of the loop.
- Repeat on the opposite of the bow.
- Repeat the above steps, alternating sides and making each loop bigger.
- Once desired bow size is achieved make one final loop-this final loop will be the tail of the bow.
- Trim the ribbon close to the center of the bow.
- Tuck this edge under the bow. Insert a pipe cleaner or florist wire under the center loop.
- Gather all the loops of the bow and twist wire to secure.
- Trim edges.
- Cut the final long loop, these are the tails of the bow.
- Trim tails of bow at a diagonal to create two points to each tail.
- Fluff the loops to give your bow shape and fullness.
Thank you for joining me today and I truly hope that you leave filling inspired and crafty too!
Jemma


Comments
Post a Comment